
Top 10 Must-Have Sewing Tools for Beginners
Sewing Tools
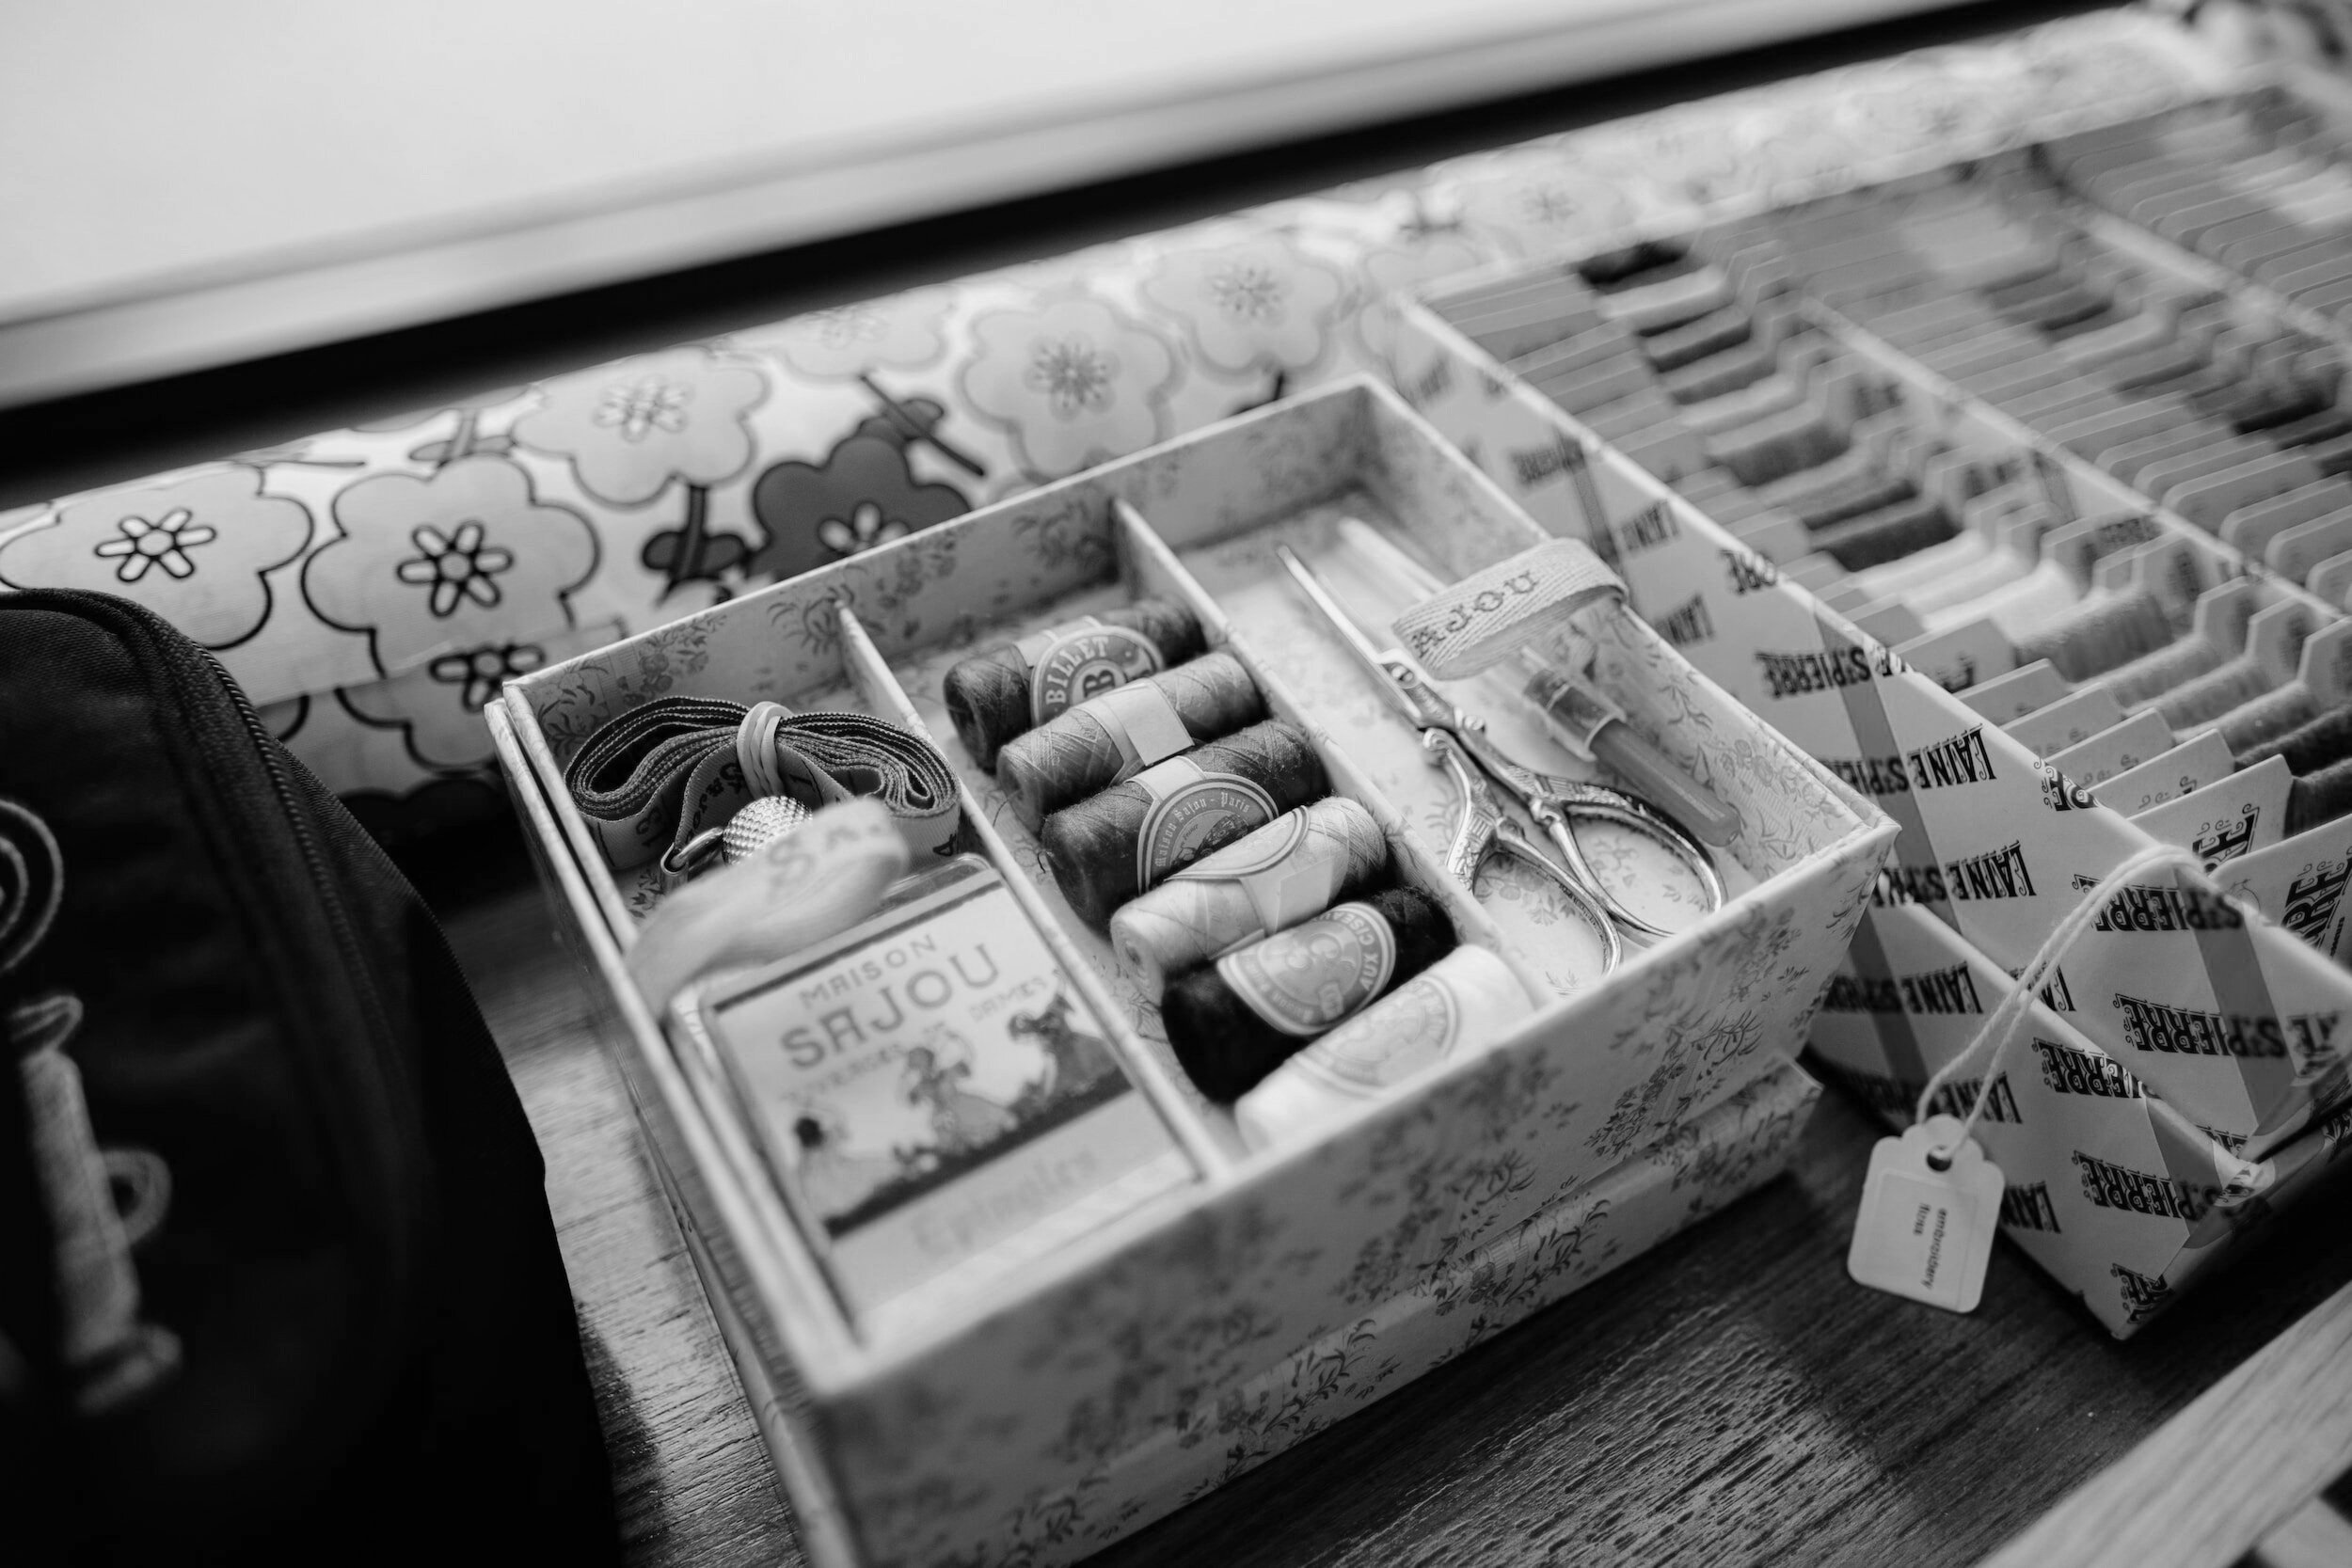
Sewing tools (not including my sewing machine which is the bread and butter of my sewing world) can vary in shape and size, from the must-have, to the pretty but not overly practical.
Personally, I do not have many sewing tools but the ones I do have get used and replaced regularly. Therefore, my TOP 10 only includes items that I personally don’t think you can live without. That doesn’t mean that there aren’t more tools out there that could make your sewing life easier, but they aren’t needed when you begin to learn how to sew.
1. Tape Measure
My number one tool is a good-quality tape measure. Personally, I prefer one with both inches and centimeters as pattern instructions can vary from metric to imperial so it helps to have both. I have both an extractable one and a normal tape one. I prefer my tape one as I like to hang it around my neck whilst sewing and use the ends to check my seam allowances as I sew.
2. Pins
Pins! Pins! Pins! Oh and lots more pins. I sit in the more pins the merrier category and it blows my mind at the bravery of others who can sew without them. I have lots of different types of pins but my favourites are sharps. These little pins will go through all fabrics (although they can bend a little when using heavyweight fabric like denim) and I can sew over them. What! I hear you shout. Yes, I do sew over my pins. If something is slippery I would rather sew over a pin or two than have my fabric move. That doesn’t mean I advise you to sew over your pins as it might damage your sewing machine but so far the only tool that has been hurt is the pins themselves as they end to get a little bent over time.
3. Scissors
A decent pair of fabric scissors are an absolute must. If your scissors are blunt or were previously used to cut cardboard there is no way they will cut your beautiful fabric with the love and attention it deserves. My very first pair of scissors were cheap but practical fabric scissors and they did me well for 4 years of sewing. My new pair are a slight upgrade but they are still not as expensive as they can get. I daydream about owning a beautiful weighted pair of sewing scissors like these one day, but for the time being the ones I have work perfectly fine.
4. Snips
Snips are small scissors that are used to cut loose threads or trim down corners and seams as you sew. You can get a few different varieties. Some can be spring-loaded like these and others can be hinged like these. My favourites are little scissors that have handles I can easily fit my fingers in. You can make do with your fabric scissors but snips are easier to use for smaller areas and are great to have in reach when you are at your machine.
5. Tailors Chalk or Fixon Pen
A mark-making tool like tailor’s chalk or a frixion pen (which disappears when ironed) is a must when it comes to getting precise finishes on your garments. Garment patterns have lots of additional markings in addition to the outer edges. These markings can be dart points, pocket placements, button placements, seam allowances, pivot points, etc and these markings all need to be transferred onto your fabric. Just remember that you want these markings to still be visible once you come to sew those areas, but not permanently visible so always remember to test them out on your fabric before you draw all over it.
6. Pin cushion
If you are a pin lover like me then you need a pin cushion to keep all of your pins safe. I use a simple fabric pin cushion that I purchased for about $2 when I first started to sew, but there are many more options available. I have recently found myself drawn to the magnetic pin cushions and this one by Zirkel looks quite good due to its fanned-out pattern when the pins are placed on it. I would love to hear from anyone that already owns one of these and would be happy to share their thoughts.
7. Seam Ripper
Ahh the seam ripper, my little friend! I have a fair few seam rippers as they are always needed in my sewing room. Sewing your own clothes is time-consuming, technical, and honestly quite confusing at times so there are bound to be mistakes. This is where the seam ripper comes in handy. If you have made a mistake and stitched something where it shouldn’t be then a sharp seam ripper can make short work of the mistake and help you get back into the fun stuff.
8. Thread
Good strong thread needs to be used for garment sewing. The seams that you sew will hopefully be worn for years and a good thread should help your garments last longer. When I first started to sew I brought a bulk pack of cheap cotton thread and every time I tried to sew with it it ended up getting caught in my sewing machine. That is when I was introduced to polyester thread. A polyester thread is strong, smooth, and durable and will not fade or shrink in the wash. The brand I use is Gutterman. Not because I am brand loyal (although it is a very good thread) but because it is difficult to source other good quality polyester threads in Australia.
9. Spare Bobbins
Unless you make all of your clothes in the same colour you are going to need more than one bobbin. When I finish one sewing project and start another I am nearly always left with some thread on my bobbin. Although you can wind another colour over the top and start sewing your new project with the same bobbin it is easier to start a new one. My machine is quite fussy about bobbins and prefers metal ones, but each machine is different. Most new machines will come with a few spare so you can use those as a guide for what to replace them with when you top them up.
10. Hand Needles
Last but not least, hand needles. Some dressmakers dread having to hand-finish seams or sew on buttons, but I quite enjoy it. Hand sewing is slow and methodical and if hand-sewn finishes are suggested then there is usually a good reason for it, they look nicer. Just think of couture sewing, most of which is done without the aid of a sewing machine. Hand needles come in all shapes and sizes, I personally prefer a longer needle, with a big enough eye so I can thread it and not too thick a point so it leaves marks in my fabric.
That’s it, all done! Everything in here is my own opinion based on the tools I use whilst sewing my own clothes. I do not get paid to promote or write about these products. I just wanted to share my knowledge and hopefully help someone else’s journey into dressmaking become that little bit easier.
Happy Sewing!
I you have any questions please reach out. We also have an ever-growing community group on Facebook and Instagram where everyone would love to hear from you and your sewing world.